Building a kaleidoscope with your
Montessori preschool child is easier than you may think. And while the finished product will be much different than a commercial kaleidoscope, the results will be mesmerizing for young kids and provide many of the same effects.
Things You Will Need
To build a kaleidoscope with your
preschool student, you will need a few supplies. Most of them are readily available at a crafts store if you don’t already have them at home.
- Potato Chip Can w/Lid
- Shiny Paper
- Colored Glass Stones
- Glue
- Markers
- Construction Paper
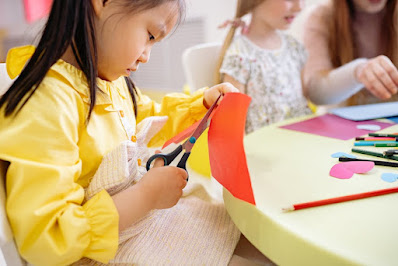
- Scissors
- Screwdriver or Punch
Preparation
To start, wrap the construction paper around the potato chip can and cut it approximately one inch past the point where the paper overlaps on the can. The overlap is how you will affix the paper to the can.
Clean the interior of the can carefully. While you are preparing the can, give your preschooler the markers and construction paper. This will be the exterior of the kaleidoscope, and your kids can decorate the paper in any way they please. Their decoration will be what sets their toy apart.
Make the Barrel
Use the hole punch or a screwdriver to pole a hole through the bottom of the potato chip can. Place the hole as close to the center as you can.
Inserting the shiny paper is the next step. You can also use aluminum foil glued to a sheet of paper, but allow the glue to dry thoroughly before using it. If the shiny paper is longer than the can you are using, cut it to fit.
Roll the paper carefully into a tube, being careful not to create any sharp bends or creases. Insert the rolled paper into the can and then unfurl it until it is the same size as the interior of the can. Put a couple of drops between the shiny paper and the can’s interior surface to hold the paper in place and set it aside to dry.
Make the Lens
Your preschooler can decorate the interior of the can’s lid using magic markers, or colored stones. Beads should be applied after the markers are used, and each bead should be glued into place. Finally, affix the construction paper to the outside of the can with glue. Let the glue dry.
Use the Kaleidoscope
To use the kaleidoscope, place the lens on the end of the can and point it directly at a light. Look through the hole in the bottom of the can and slowly turn the can to make the kaleidoscope change patterns.
If you have extra lids available, each one can be decorated differently and then used on the same barrel. That will allow your kids to see how the kaleidoscope changes with different patterns.